
How To Start Your First WordPress Site: The Easy Guide (2026)
Ready to start your WordPress website?
Starting your first website can feel exciting — and a little overwhelming. Between domain names, hosting, WordPress, themes, and all the “techy” terms, it’s easy to wonder: Where do I even begin?
The good news? You don’t have to figure it out alone. We created this simple step-by-step guide to help you launch your very first WordPress website without the overwhelm.
Our goal is simple: help you spend less time figuring out the tech and more time building a business (or blog) you love.
Ready? Let’s get started.
Note: This page contains affiliate links. If you purchase through one of our links, we may earn a small commission at no additional cost to you. We only recommend tools and products we genuinely love and use ourselves.
Step 1 | Get your domain name & hosting
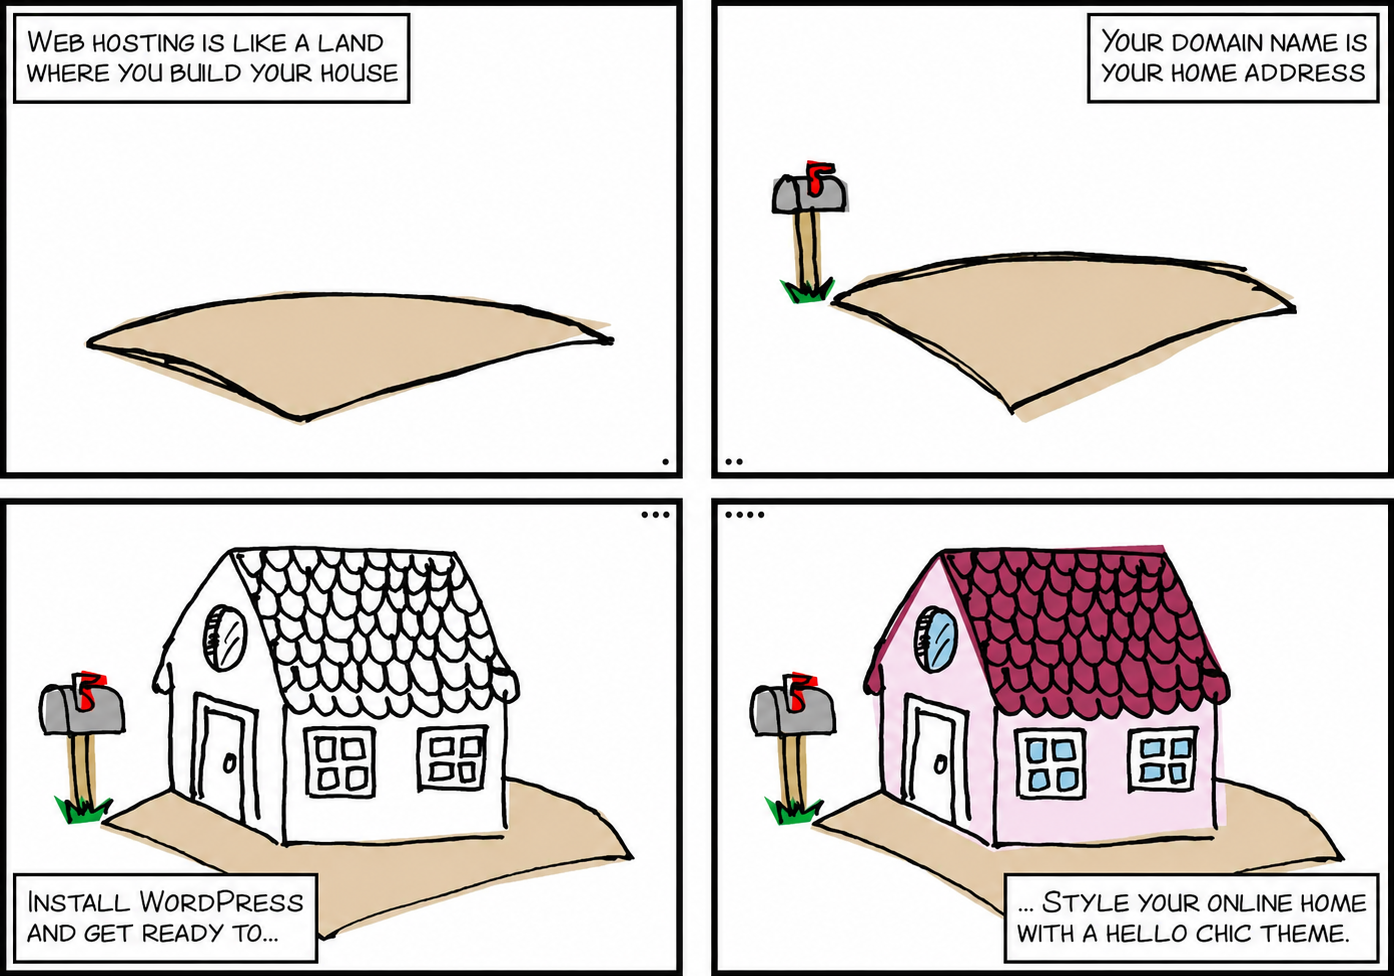
Before building your website, you’ll need two important things: a domain name and hosting.
Your domain name is your website address — the name people type into their browser to find you online (for example, yourwebsite.com). When choosing a domain name, try to pick something that is easy to remember, aligned with your brand, simple to spell, and something you’ll still love long-term.
Your website hosting is where all of your website files are stored. If it helps, think of it like this — hosting is the land your house is built on, domain name is your home address, and your website is your actual house.
There are many hosting companies out there, but we recommend Bluehost because it’s beginner-friendly, reliable, affordable, and makes setting up WordPress incredibly easy. You’ll also typically receive a free domain for your first year when purchasing hosting. Getting started is simple:
1. Go to Bluehost and click Get Started.
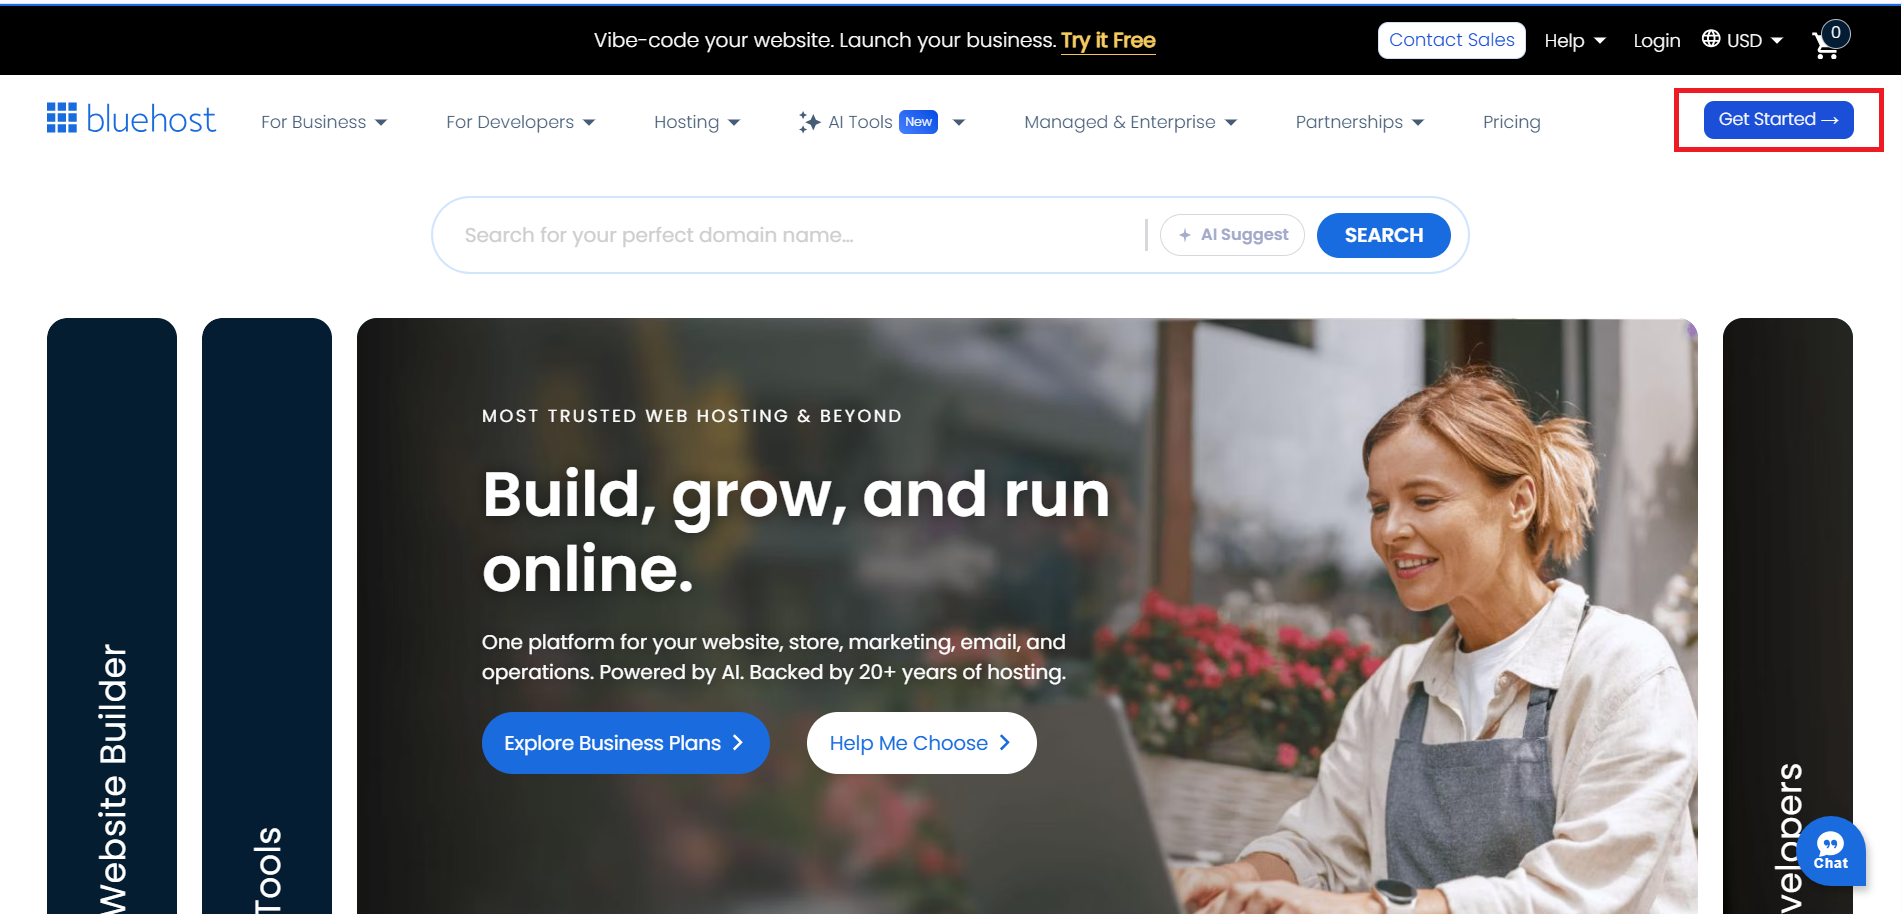
2. Choose your hosting plan (the Basic plan is perfect for beginners).
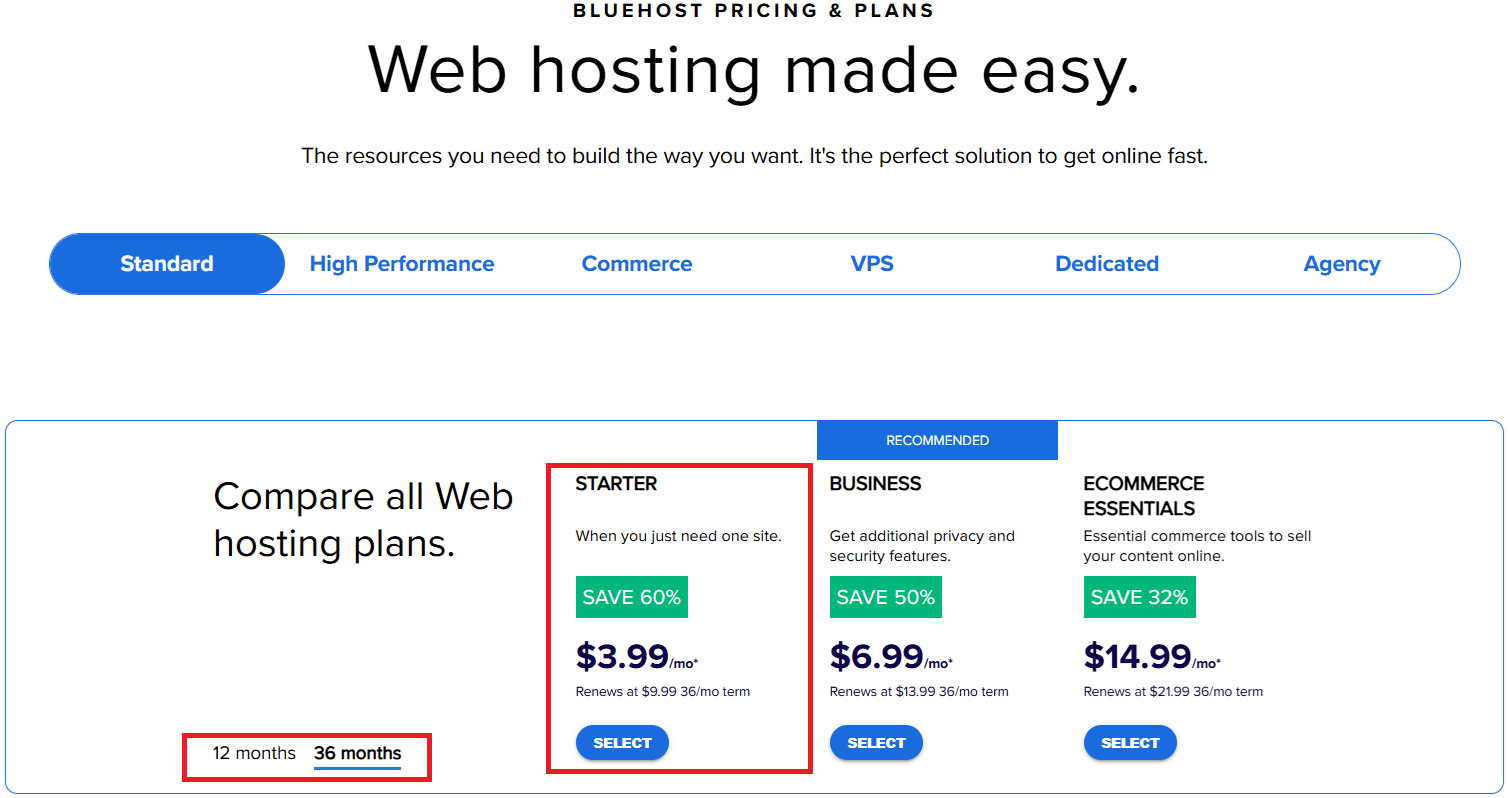
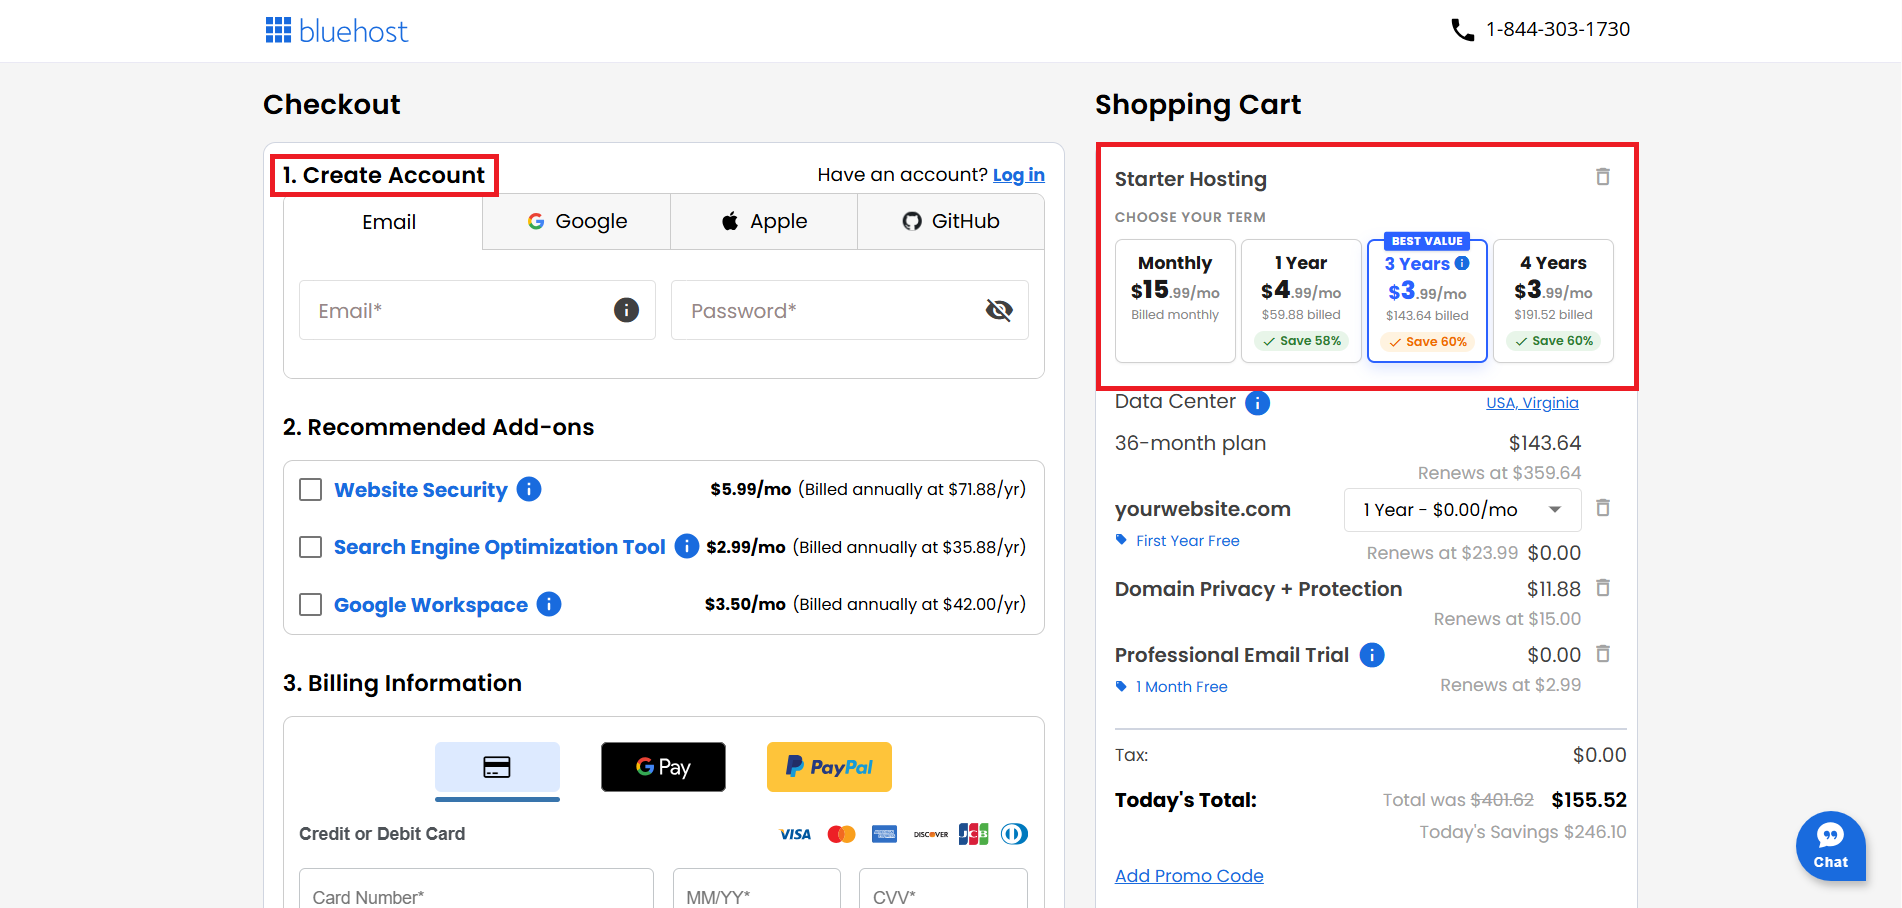
When choosing your hosting plan on Bluehost, you’ll notice different billing options depending on how long you want to commit.
You can choose:
• Monthly plan ($15.99/month) – Billed monthly. This gives you full flexibility to pay as you go, but the total cost is higher in the long run. The total cost is not fixed upfront, and you will also need to purchase your domain separately (around $12.99/year). This option is only available at checkout.
• 1-year plan ($4.99/month) – Billed at $59.88 total for the year. A great starting point if you want a shorter commitment. It usually includes a free domain for the first year.
• 3-year plan ($3.99/month) – Billed at $143.64 total for 3 years. This is the best value option, giving you the lowest monthly cost and the highest long-term savings.
• 4-year plan ($3.99/month) – Billed at $191.52 total for 4 years. Similar monthly rate to the 3-year plan, but with a longer commitment and a higher upfront payment.
In simple terms: the longer your plan, the more you save over time.
If you’re serious about building your website long-term, the 3-year plan is usually the most cost-effective choice. But if you prefer flexibility, you can start with a shorter term or choose monthly at checkout.
3. Choose your domain name.
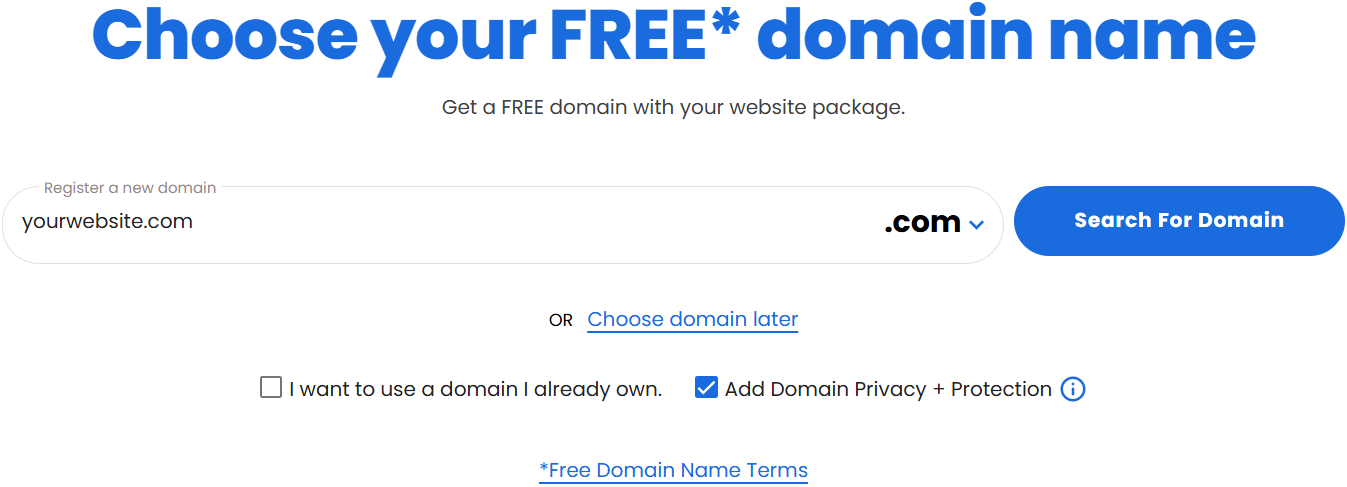
4. Create your account, confirm your chosen plan, and proceed with the payment.
5. And that’s it — you officially own your little corner of the internet!
Step 2 | Install WordPress
Good news — if you’re using Bluehost, WordPress installs automatically for you.
That means no complicated setup, no coding, and no technical headaches. Once your hosting account is ready, WordPress will already be installed and waiting for you.
PRO TIP: To access your WordPress dashboard, simply add /wp-admin to the end of your website URL (example:
yourwebsite.com/wp-admin). Bookmark it in your browser — you’ll be using it often.
Step 3 | Choose your Hello Chic theme
Now for the fun part — making your website look beautiful.
Your WordPress theme controls how your website looks and feels, and choosing the right one can instantly improve the user experience (— increasing your conversions if you offer services or run a shop!)
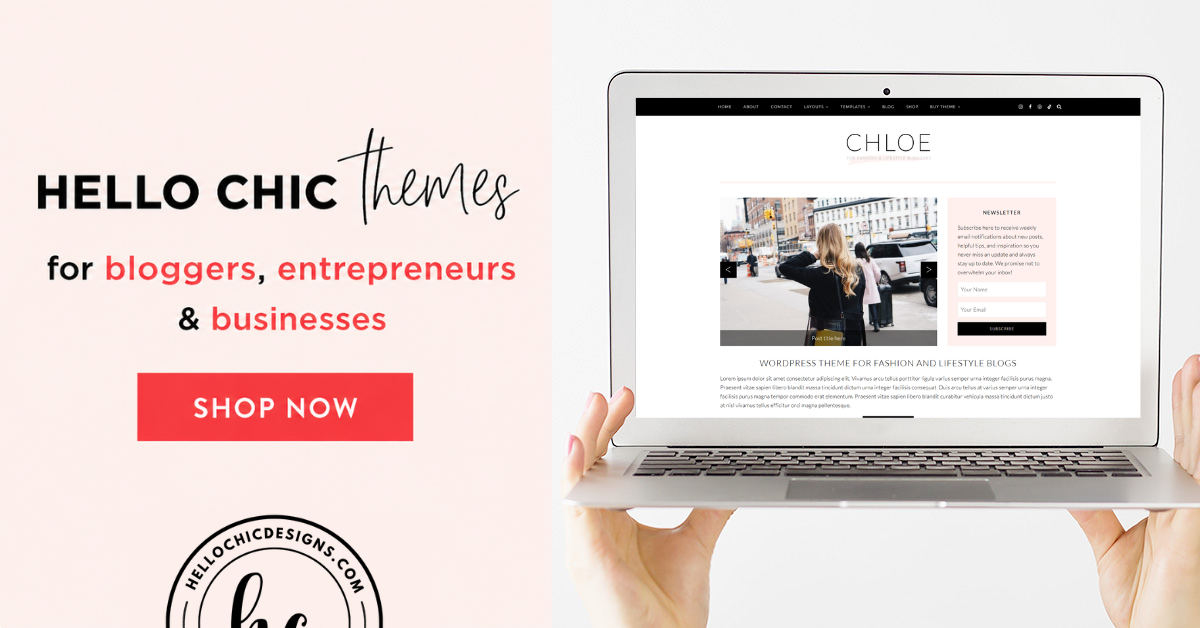
At Hello Chic Designs, we create chic, professional, and easy-to-use WordPress themes for bloggers, entrepreneurs, and businesses who want a beautiful website — without the tech struggle or expensive pricing.
Whether you’re launching a blog, growing a business, or starting an online shop, we have themes designed to help you get started beautifully.
Browse our theme shop to find your perfect match!
Step 4 | Install & set up your theme
Once you’ve chosen your theme, it’s time to install it.
Inside your WordPress dashboard, go to Appearance → Themes → Add New → Upload Theme, upload your theme ZIP file, install it, and click Activate.
Once activated, follow our tutorials to customize your website and make it feel like your brand. This is where your website really starts coming to life!
Step 5 | Add your content & customize your website
Now it’s time to bring your website to life.
Start by creating your pages, adding blog posts, customizing your branding, and making your website feel uniquely yours.
You can customize things like:
• Colors
• Fonts
• Branding elements
• Menus
• Images & website content
Congratulations – You’re officially a website owner!
You did it!
You officially have the foundation for your website and are one step closer to building something amazing.
Starting a website can feel intimidating at first, but it gets easier much faster than you think. The most important thing is that you started.
Because the best time to build your website isn’t next week, someday, or “when everything feels perfect”.
It’s today.
And remember — we’re here to help every step of the way.